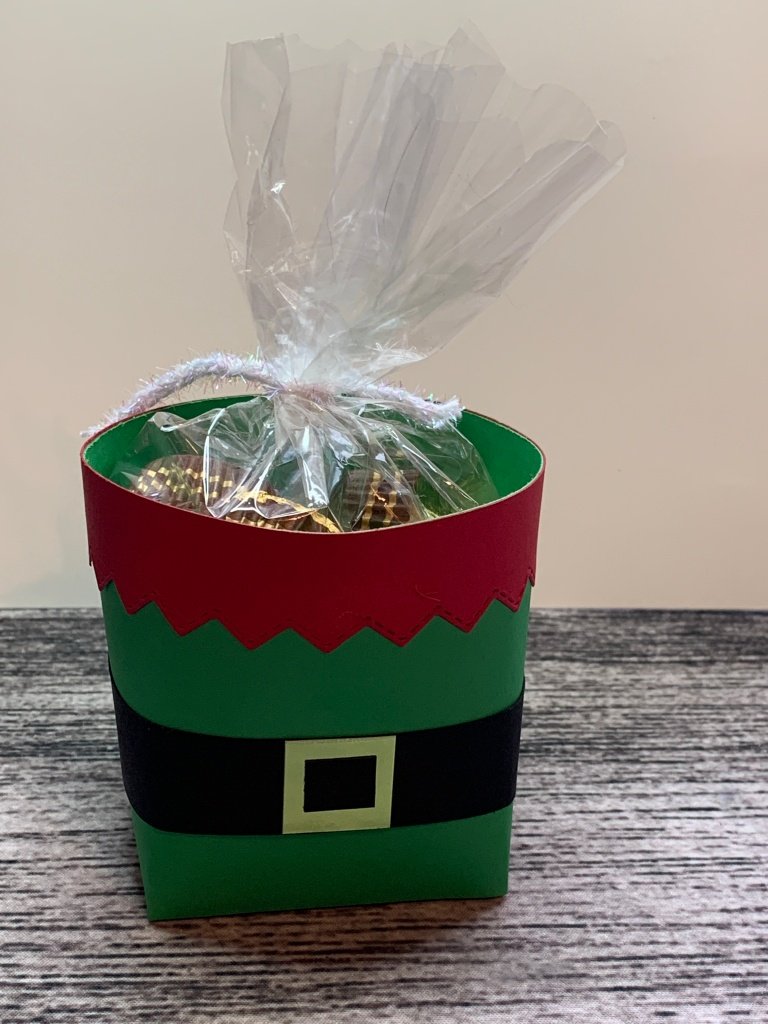
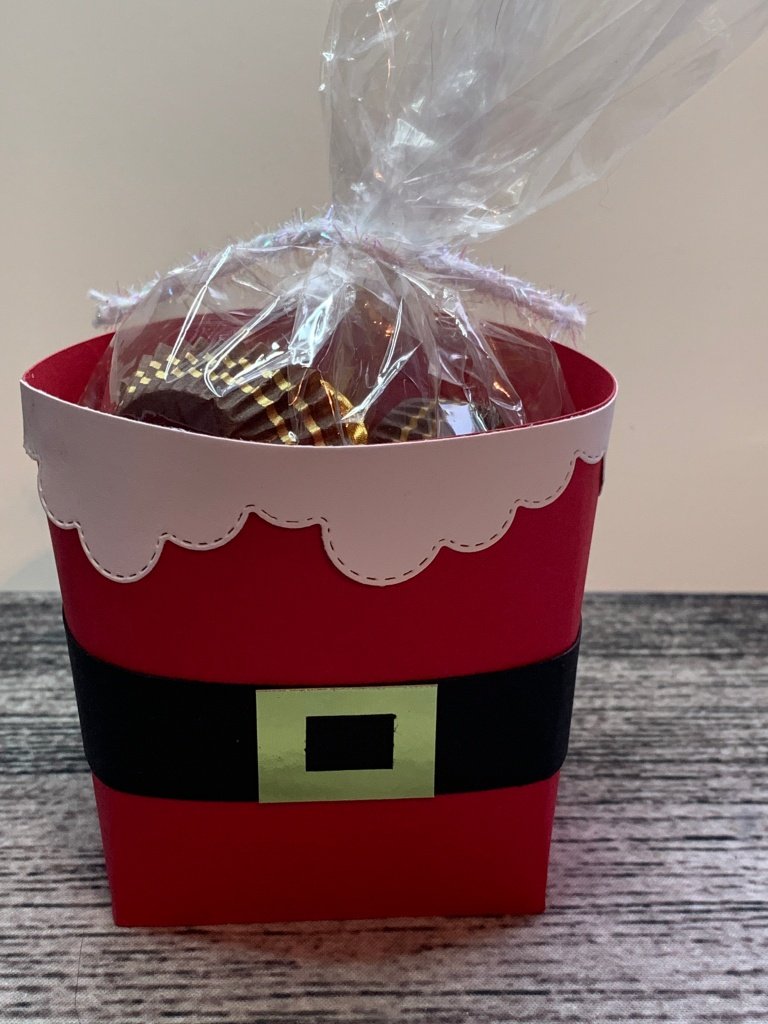

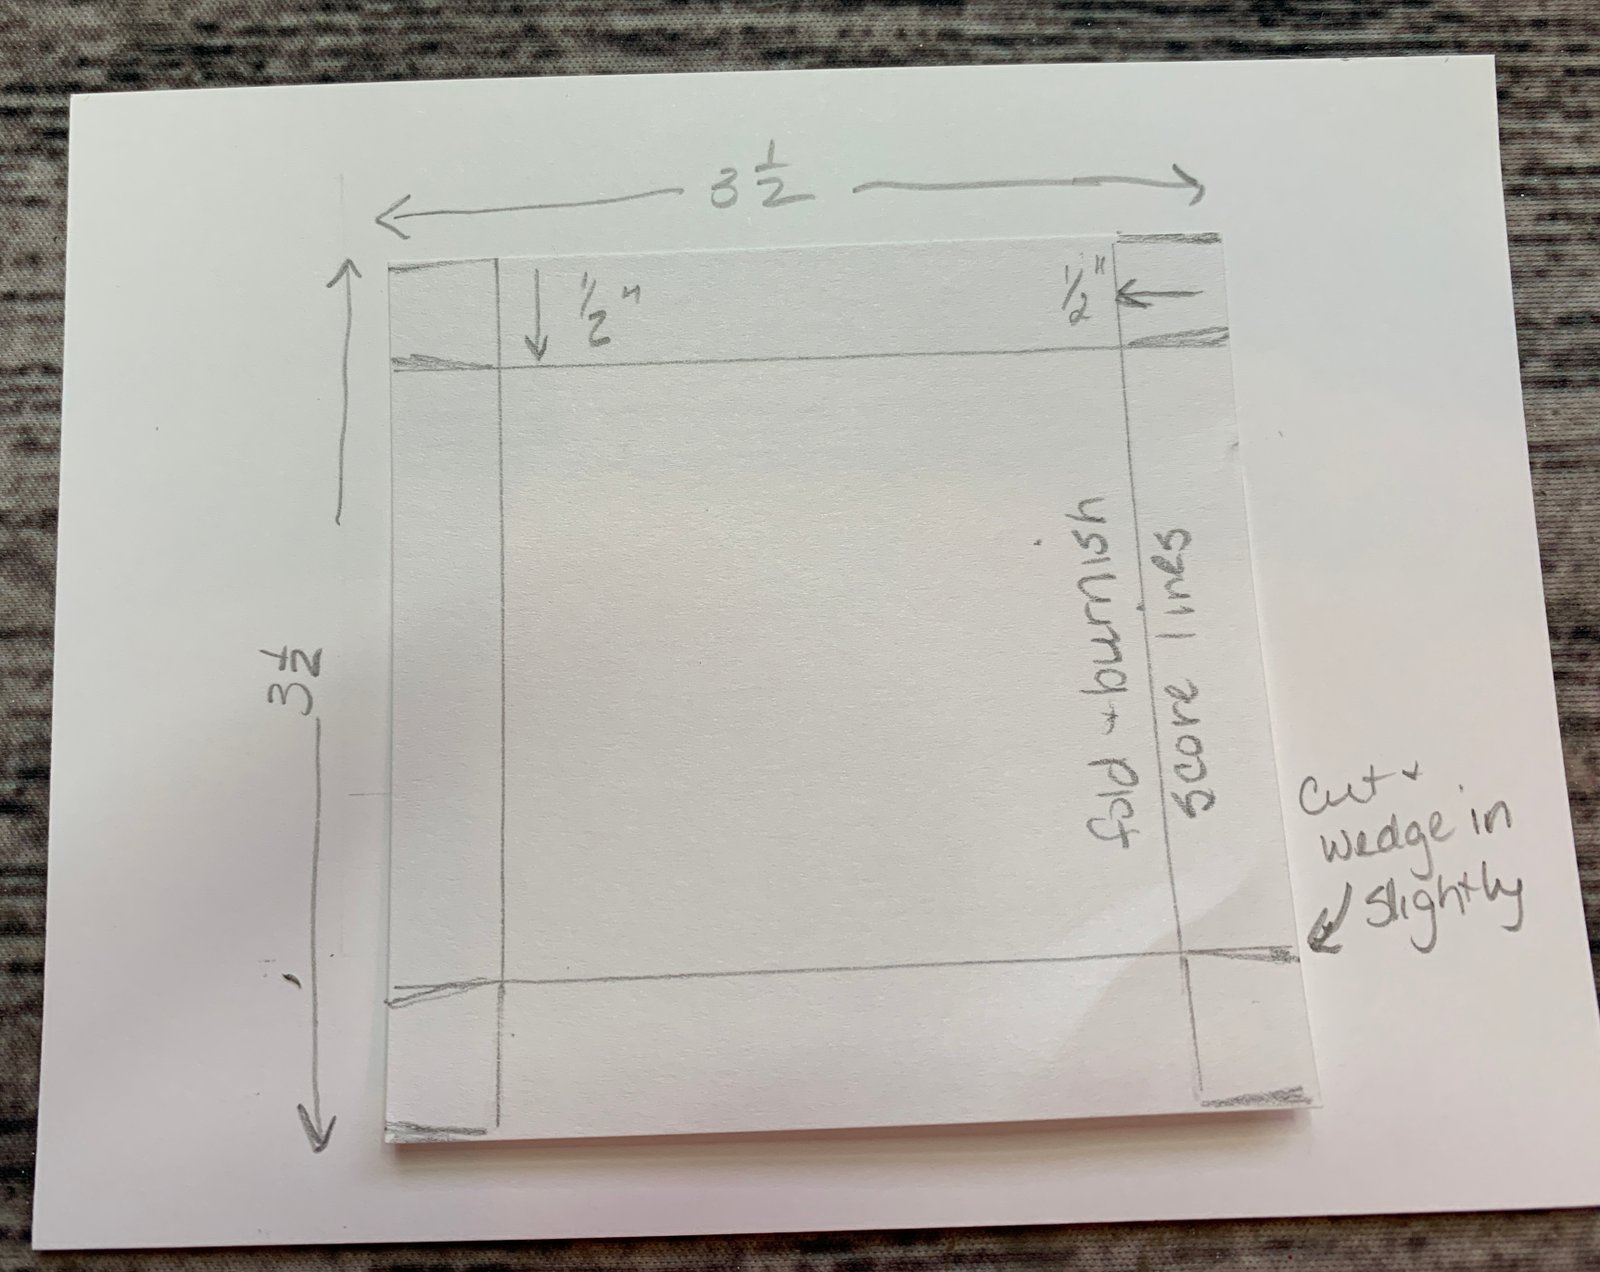
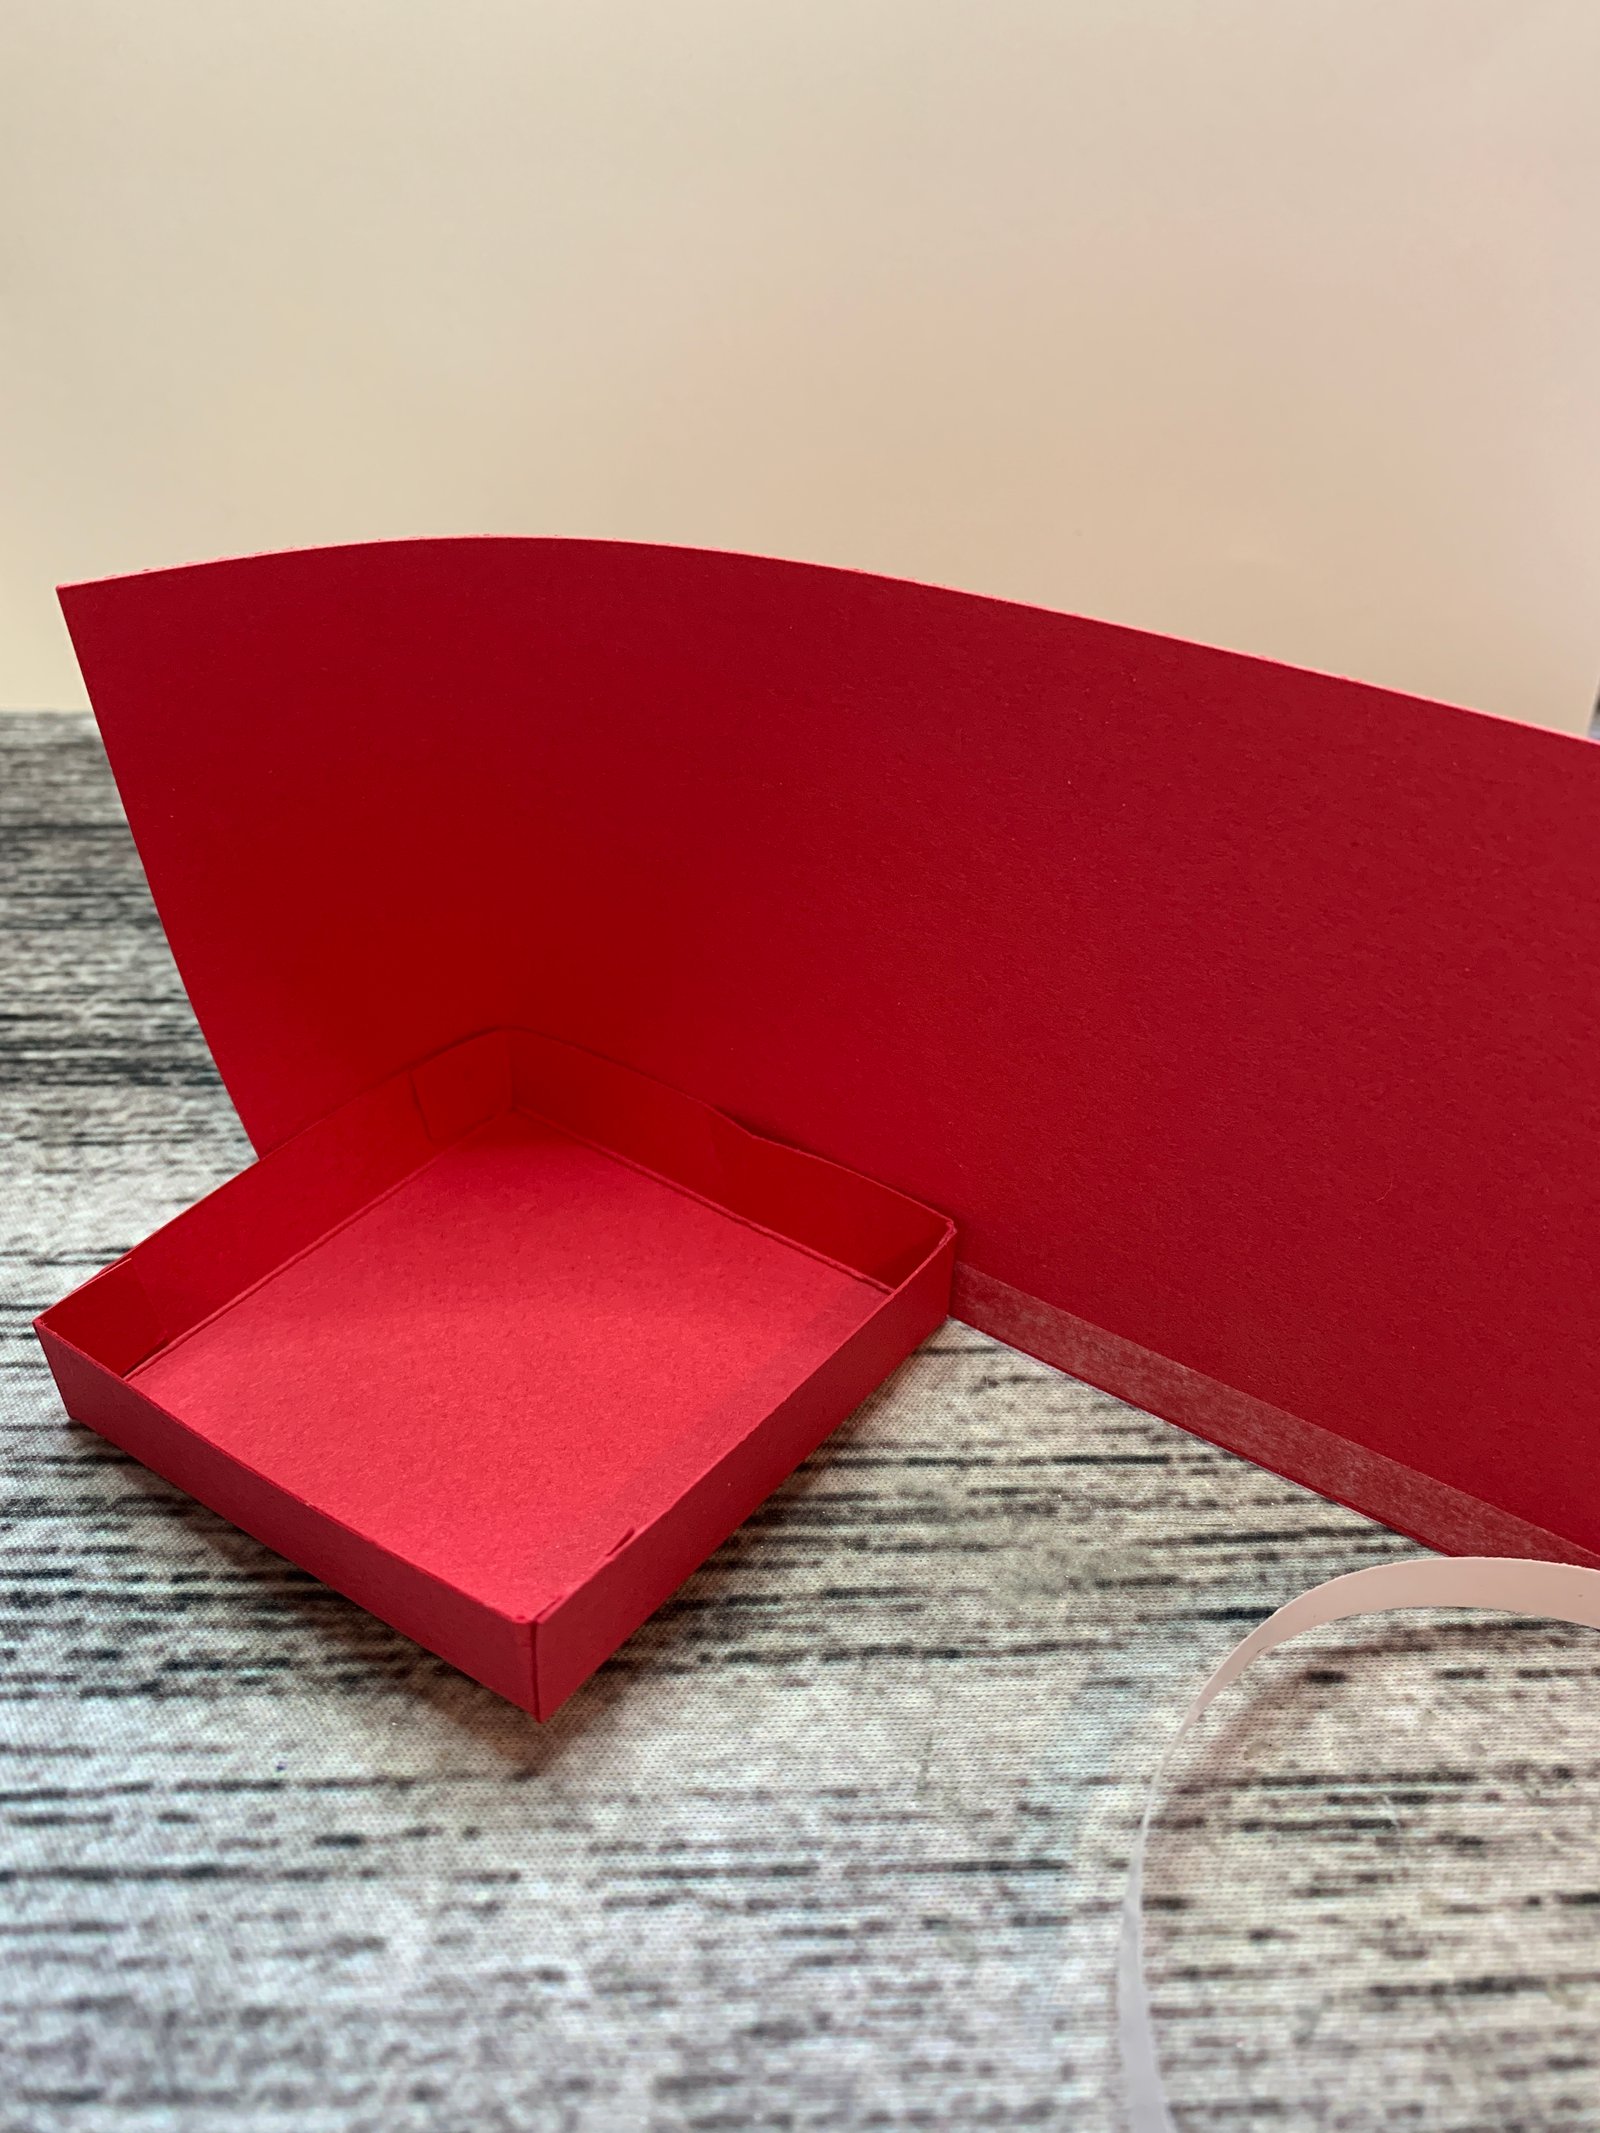
I was trying to get into a card groove yesterday and instead, ended up making some cute little treat holders. They’re SO simple, you’ll be making these in bulk! The base is 3-1/2″ x 3-1/2″, scored at 1/2″ on all four sides. Cut to the score line and slightly wedge where indicated to reduce bulk. Put glue on the four little tabs and tuck them in and secure to create a box bottom

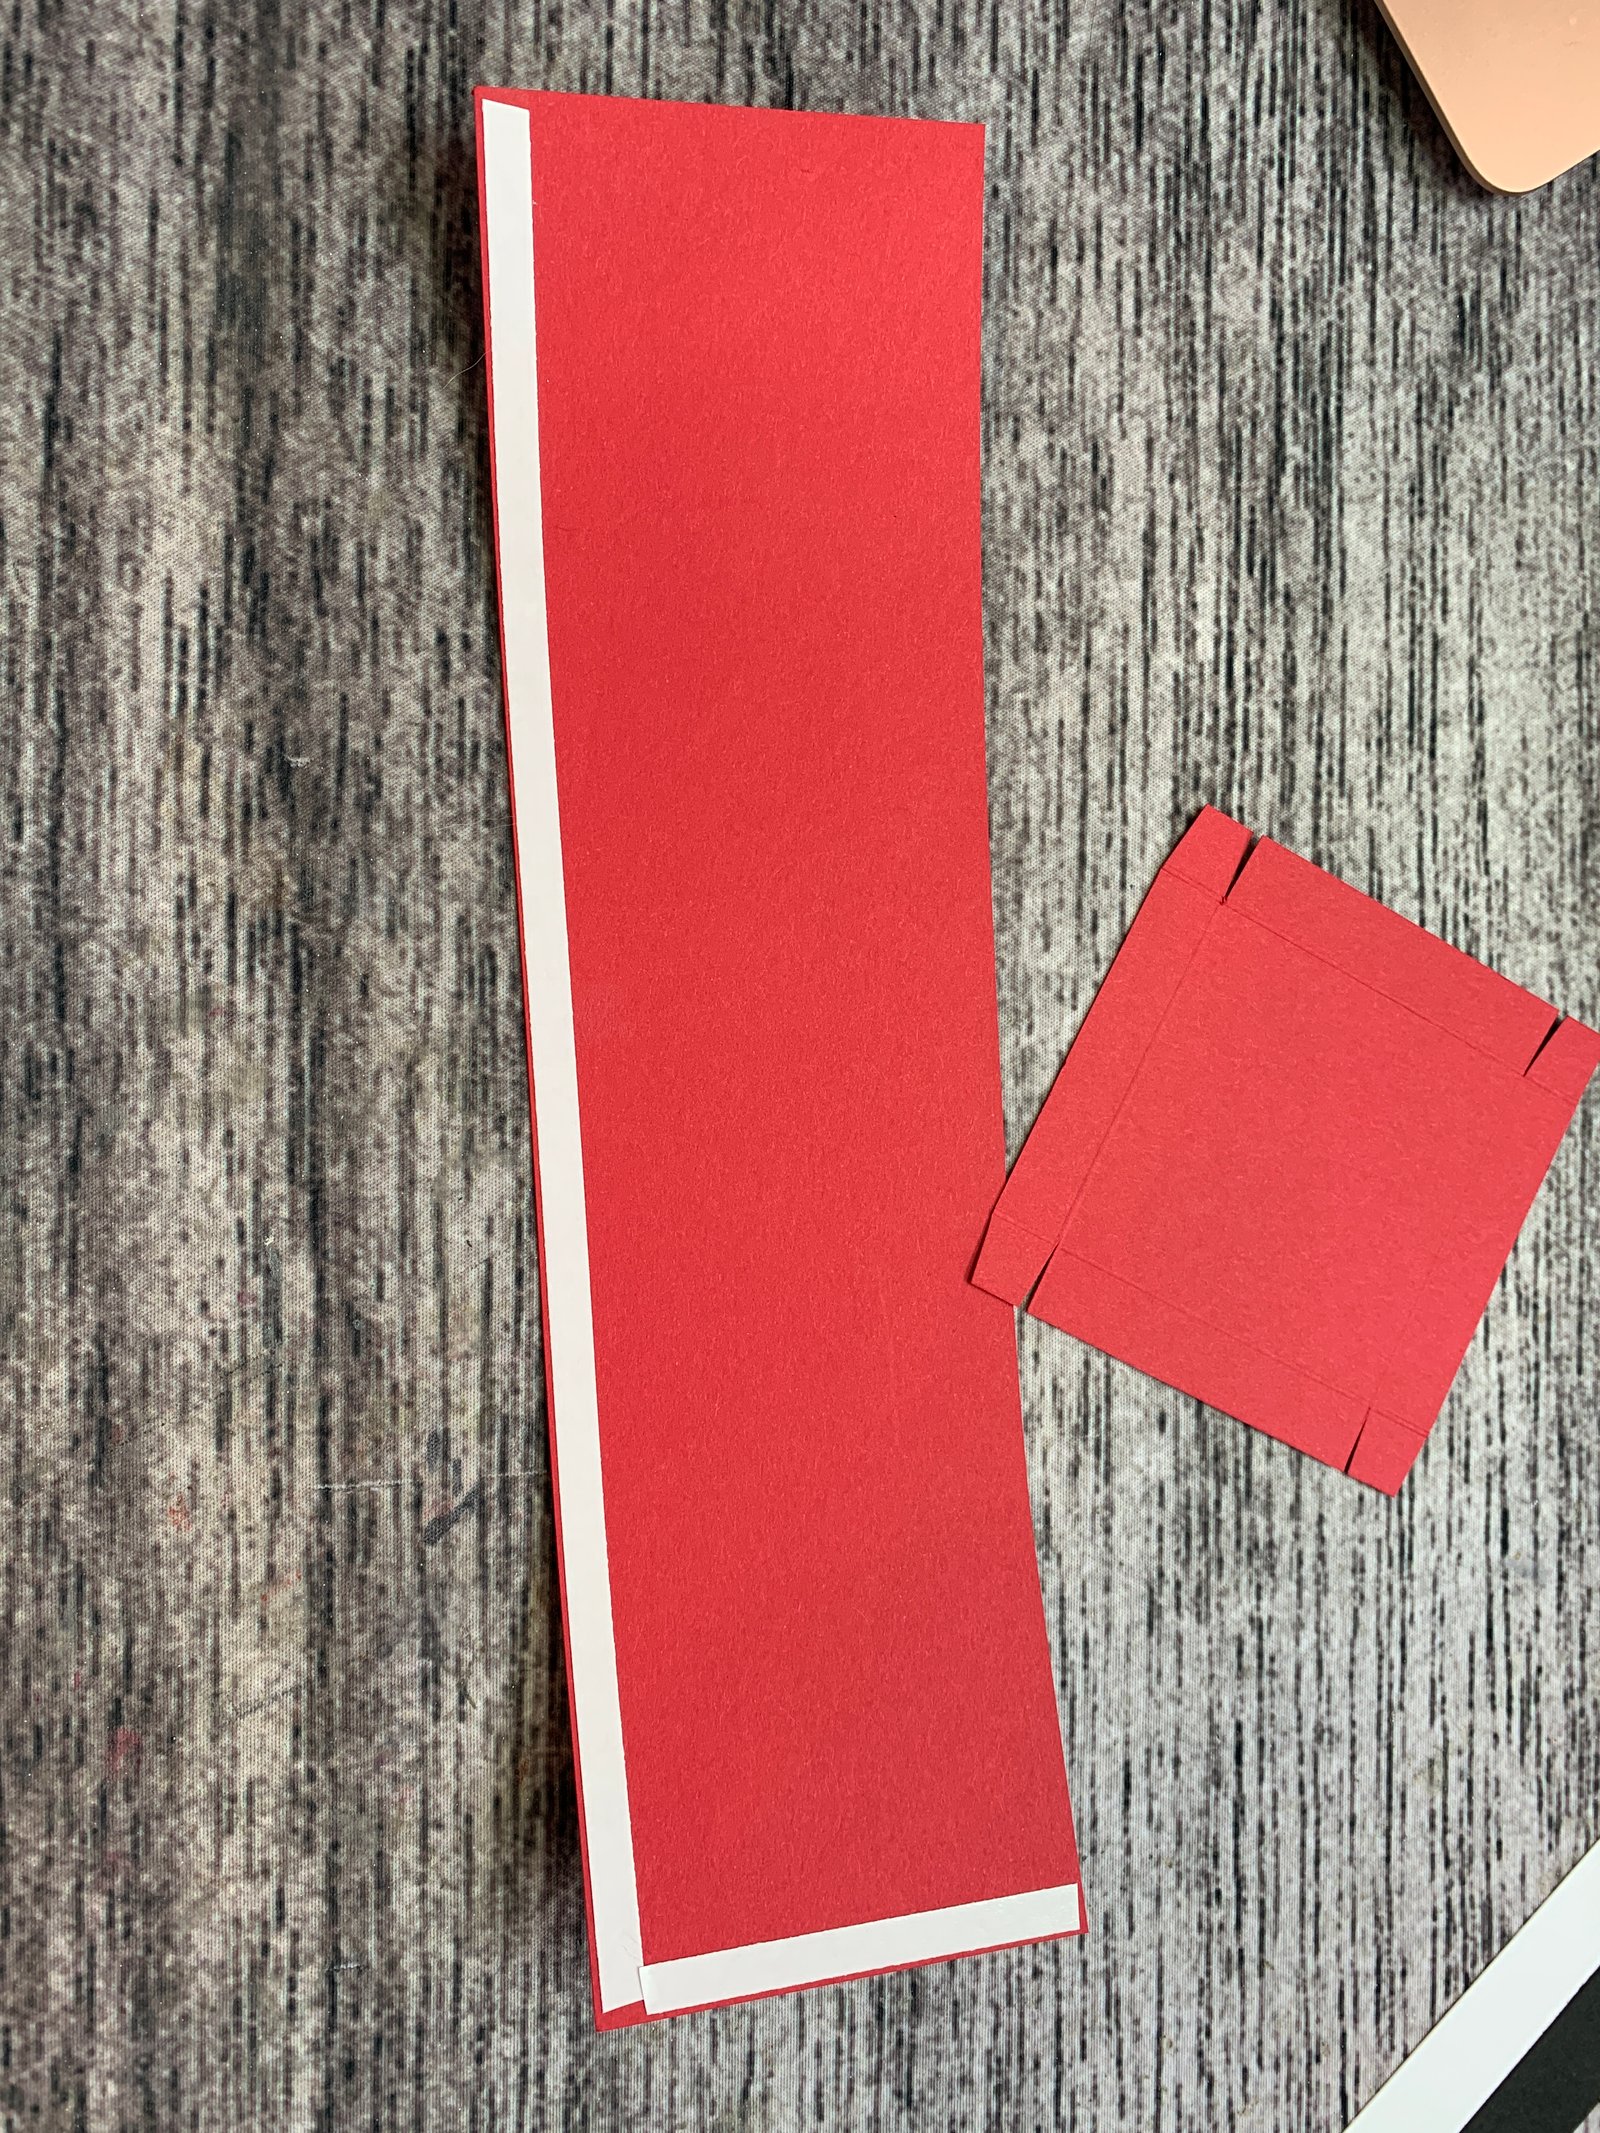
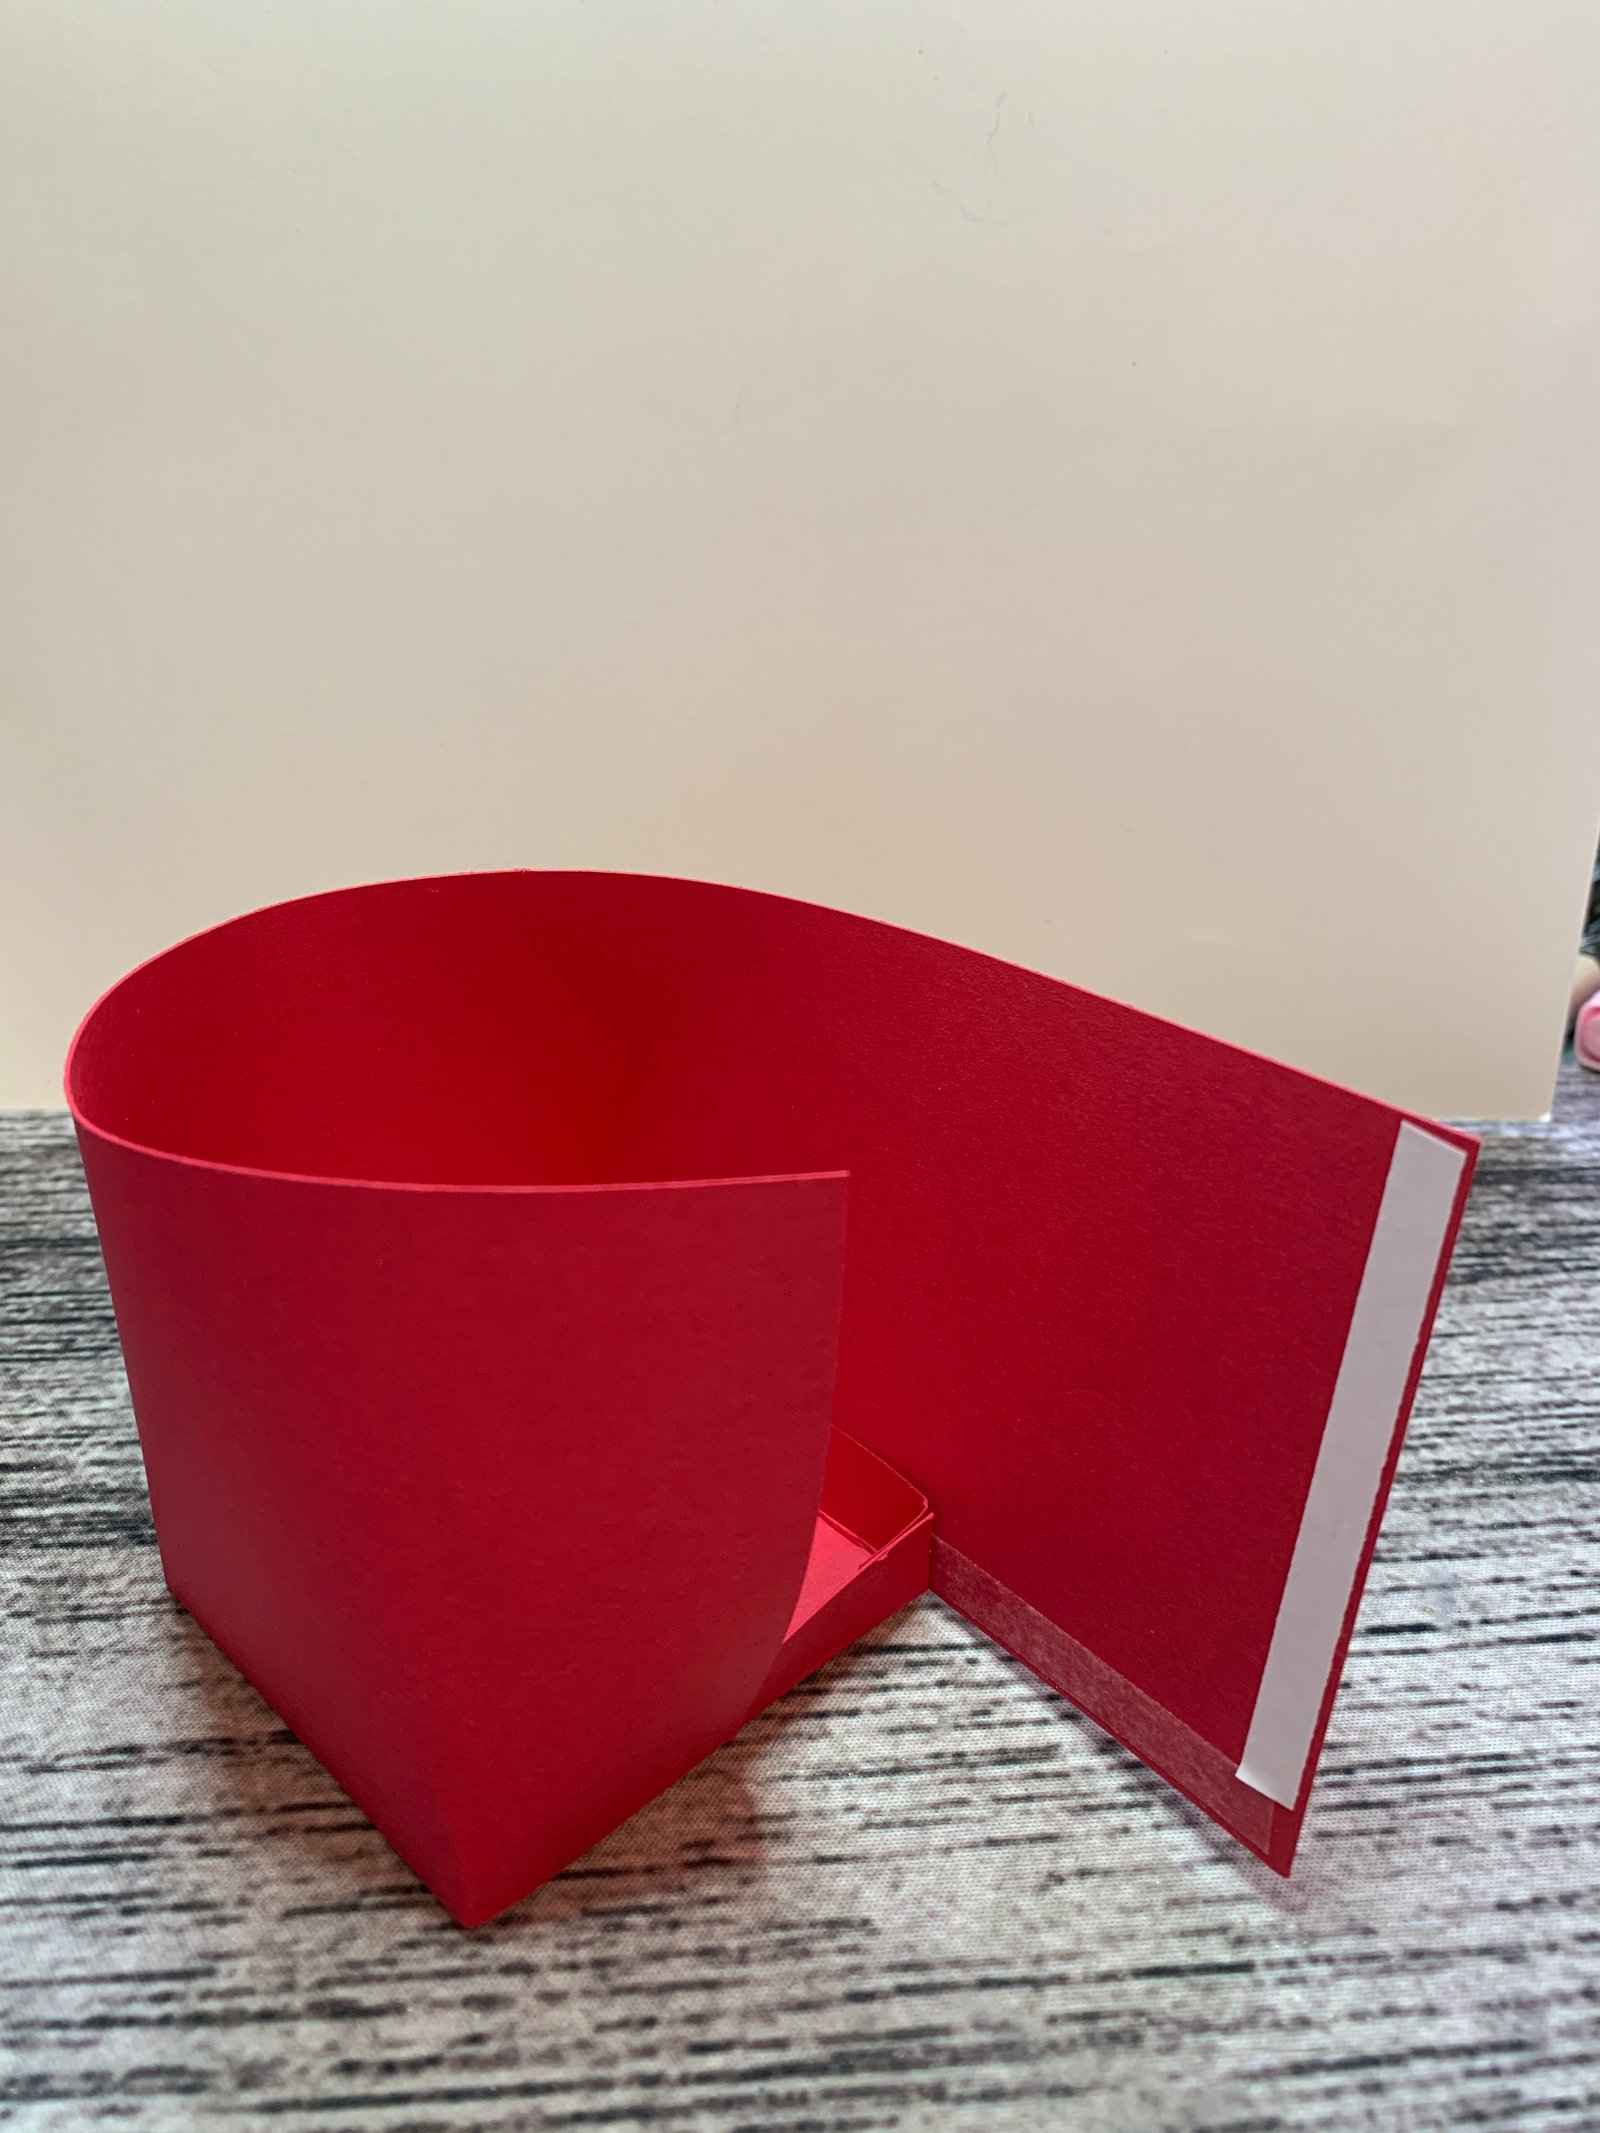
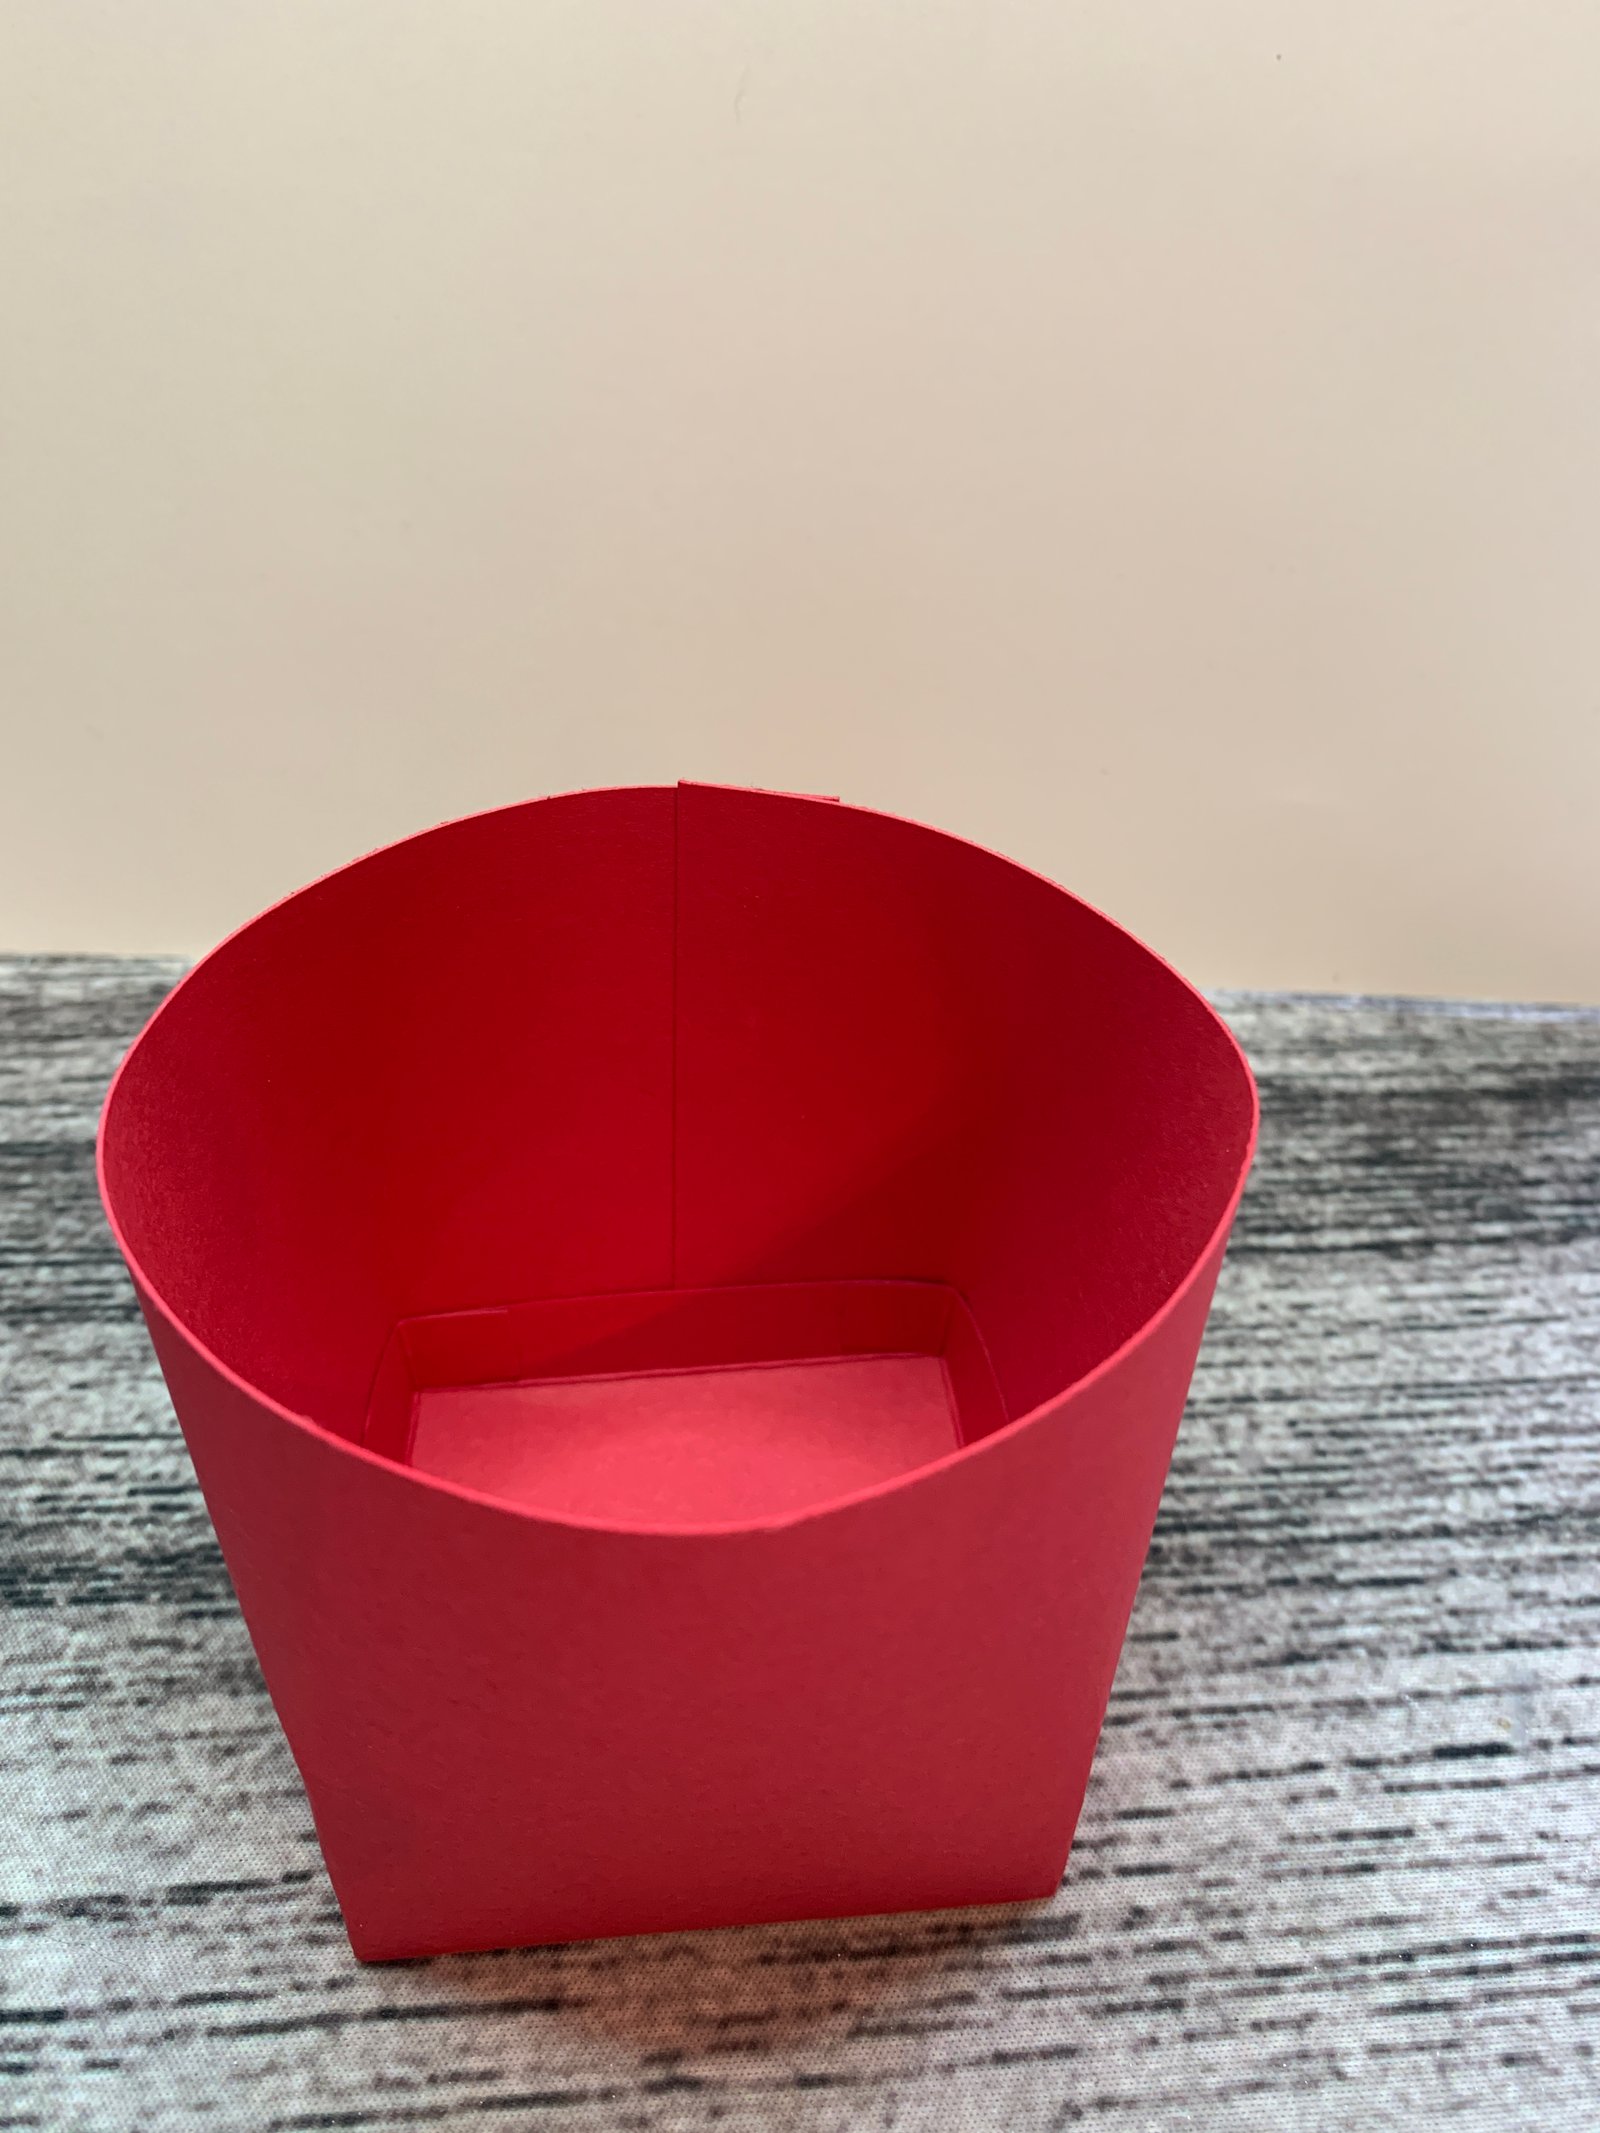
the body of the treat holder is made using a 3 x 11″ strip of card stock. I put “Tear’n Tape along the bottom and right side of the rectangle, then starting in the. middle of one of the sides, adhere the rectangle to the box bottom to create the container.
Once you get your container made, it’s time to embellish it. For the Santa, I used 3/4″ X 11 for the belt and 1″ x 11″ of Basic White for the collar. I used the Basic Borders to create the different collars. I cut a gold foil, 3/4″ square for the belt buckle and glued a little square of Basic Black in the middle of that.


For the penguin, I cut the bottom off of a Stitched Oval, for the tummy and cut two hearts from the Give it a Whirl dies in Mango Melody, for the feet. A little Mango Melody triangle for the beak and used some retired circle punches to create the eyes, detailed with a White Stampin’ Chalk Marker (Unfortunately retired, but a white gel pen – available at the dollar store would work as well). So stinkin’ cute!
I hope you enjoyed this cute, quick tutorial. Feel free to reach out if you have any questions about this project or any other. Thanks for taking the time to read this….. Lise (pronounced Lisa)


Leave a Reply