Check out the tutorial video here. I hope you give this a try – these are the easiest cards to make and they’re SO cute Here is this month’s Colour…
Read More
Sliding Storybook Interactive Card
My friend, Verna Mullen, a Stampin’ Up! demonstrator (Stampin’ Notes) in Western New York, made this fun card the other day and I just had to try it. She used…
Read More
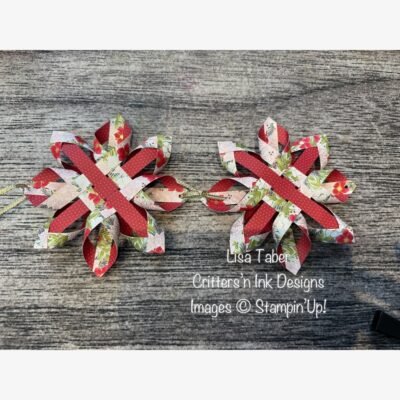
Cute Snowflake
I made a bunch (5) of these snowflake ornaments and linked them together to make a little swag for my carft room. In this video, I make one snowflake, to…
Read More

Coming Soon!
Love exclusive products? Then you’re going to love this! Introducing Product of the Month, a new promotion centered around a special monthly product release. At the beginning of each month,…
Read More
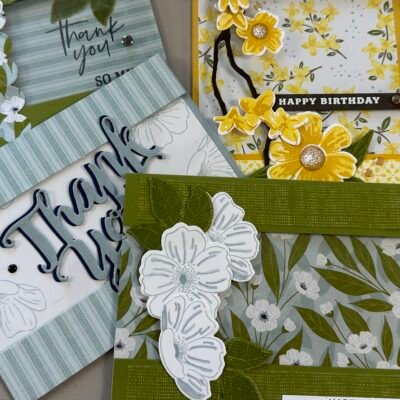
Branching Out Shaker card
In case you missed yesterday’s live video, here is the replay (somewhat edited). I hope you give it a try. Here is a list of the products that I used…
Read More
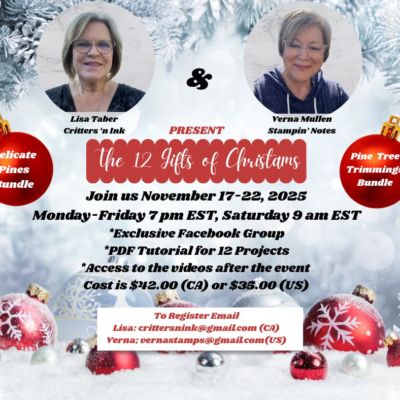
12 Gifts of Christmas Online Class
Kick off the holiday season with a series of 6 classes of creativity and fun! I’m partnering with Verna Mullen of Stampin’ Notes, in New York state for our first…
Read More
