One of my favourite techniques is heat embossing. Watching the powder melt never gets old – it’s like magic. In this card, we will be doing an emboss-resist inking technique.
You will need
Card Base – 8 1/2 x 5 1/2, score @ 4 1/4″
Contrast Card Stock – 4 x 5 1/4
Basic White – 2 x (4 x 5 1/4) (you will trim to 3 3/4 x 5 after you emboss). The second one is for the inside of the card
Scrap – basic white and same colour your contrast
approx 8 1/2″ of ribbon
Gems for embellishment
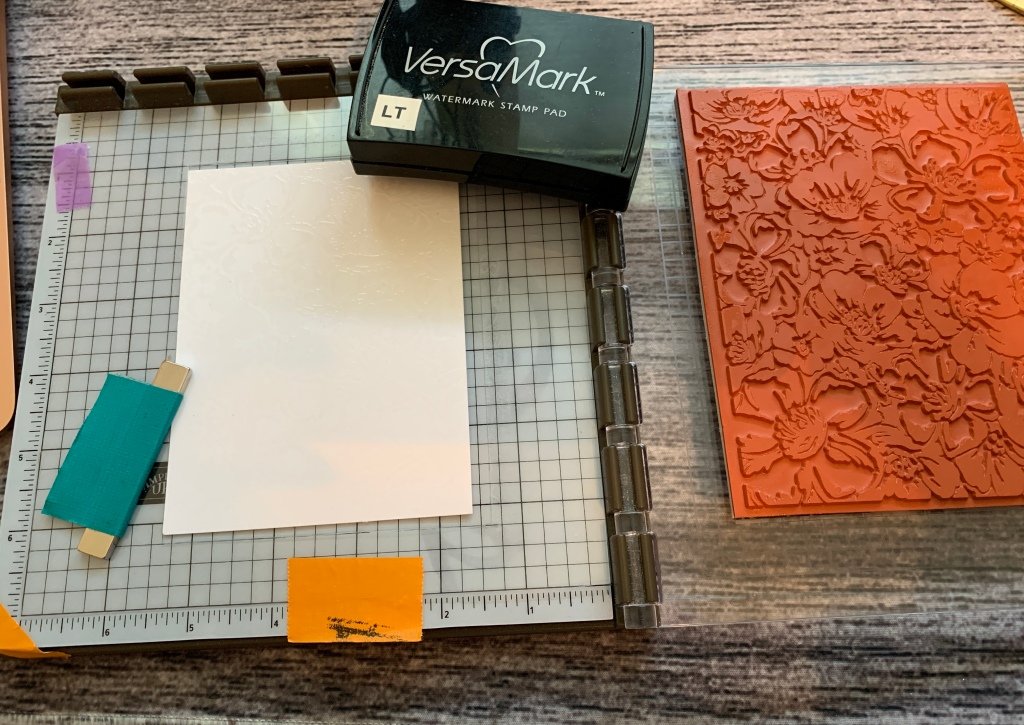
Ink up the Wild Roses background stamp with Versamark and stamp onto your piece of Basic White. I used my Stamparatus, to make sure I’d be able to restamp it if I needed to.
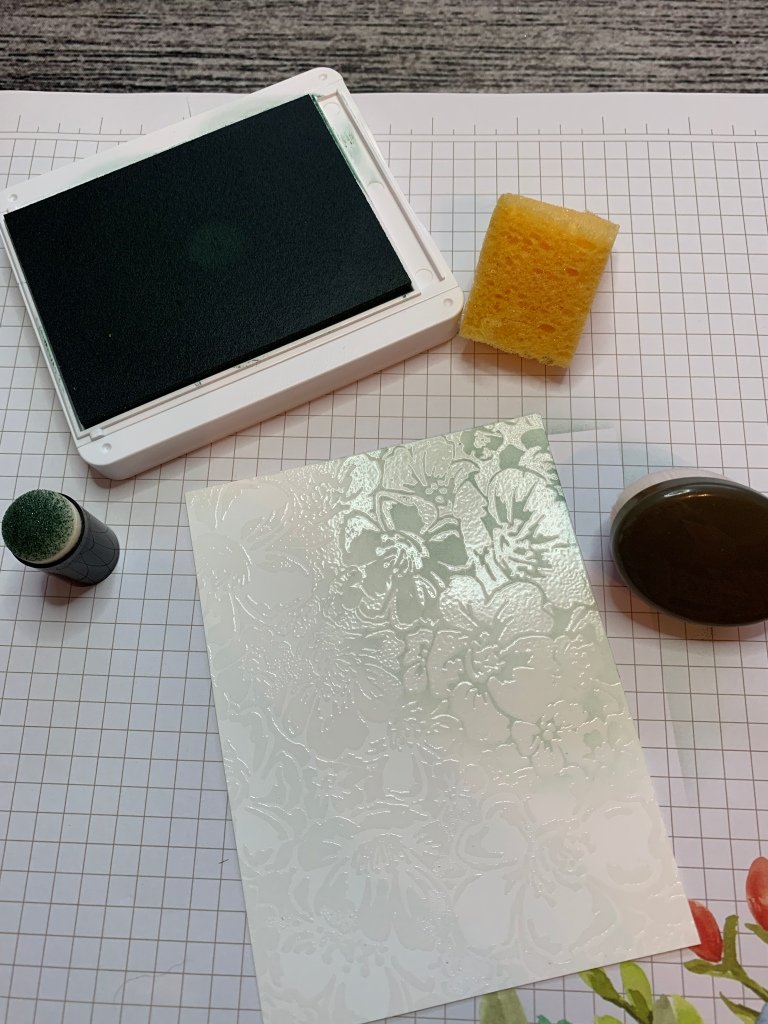
Using a blending tool, apply ink to the embossed card. When you’ve coloured the whole sheet, take a soft cloth or paper towel and rub firmly to remove the excess ink from the shiny embossed areas on the card stock.
Trim the embossed card to 3-3/4 x 5. Take 6″ of ribbon and wrap to the back at the half-way point and glue to the contrasting matte, then layer this onto the card base.
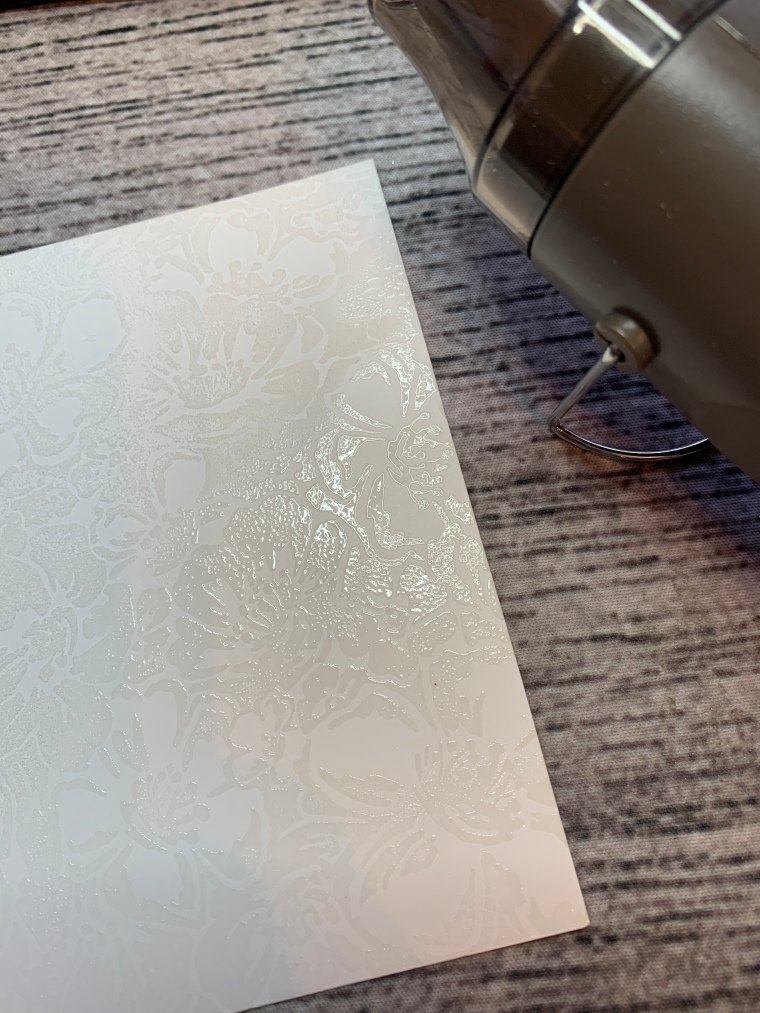
Next, liberally sprinkle Clear Embossing powder over the entire stamped area. Tap off any excess powder, then using your Stampin Up Heat tool, melt the clear powder, until it’s shiny, with no dull areas. If you do see a dull area, reapply heat, until it’s shiny.
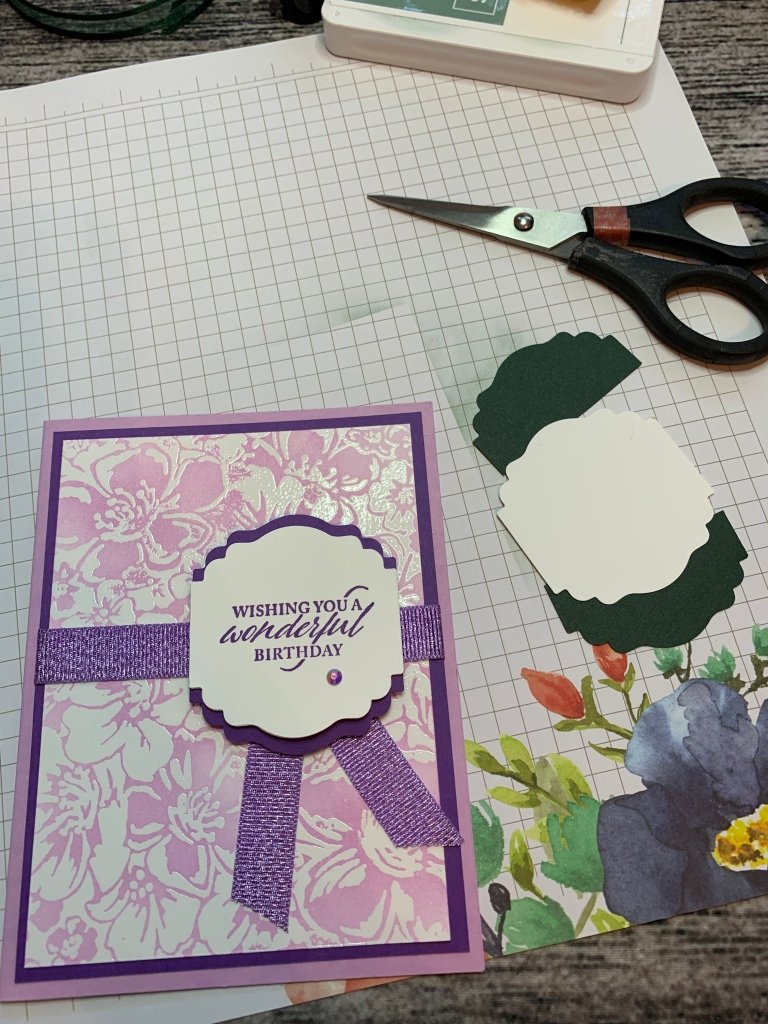
Complete with an embellishment of choice – I used the In-colour gems on some and the Blue Adhesive-backed gems on others.
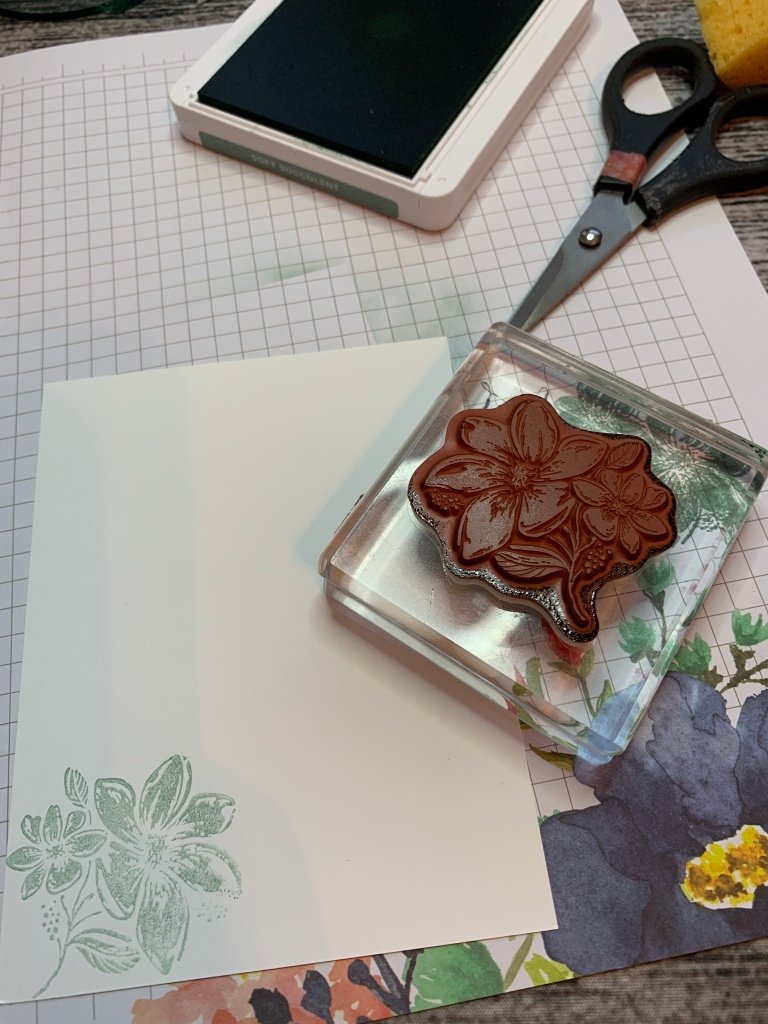
On the inside, I stamped a floral image from the Elegantly Said, collection, matching the ink on the front. (Basic white – 5 1/4 x 4)
I don’t usually stamp my sentiments until I know what I’m going to use the card for. Sometimes I just put an image, and leave the card empty, so I can write a note.
I hope you like this card and recreate it for yourself.



Nice card!!!
Get Outlook for Android
________________________________
Thanks Susan – did you get yours?