I saw a great hint a few years ago, when I joined Stampin’ Up! regarding using Punches in your paper craft. I used to struggle matching a punched element to fit a certain sentiment, but with this tip, I struggle no more.
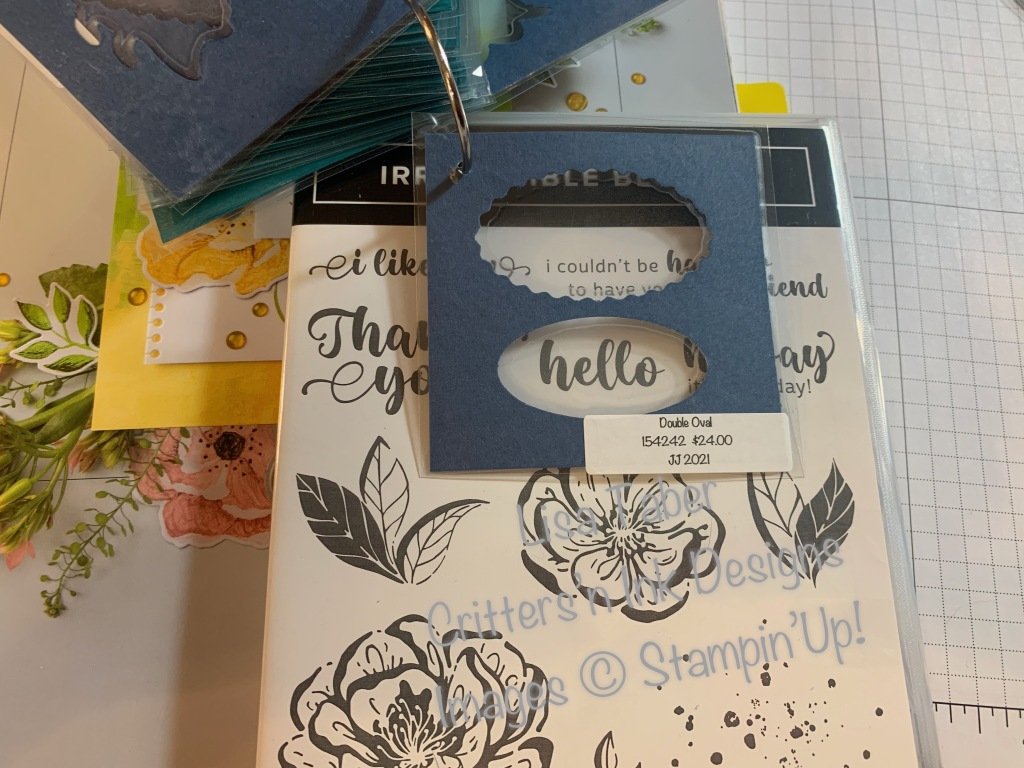
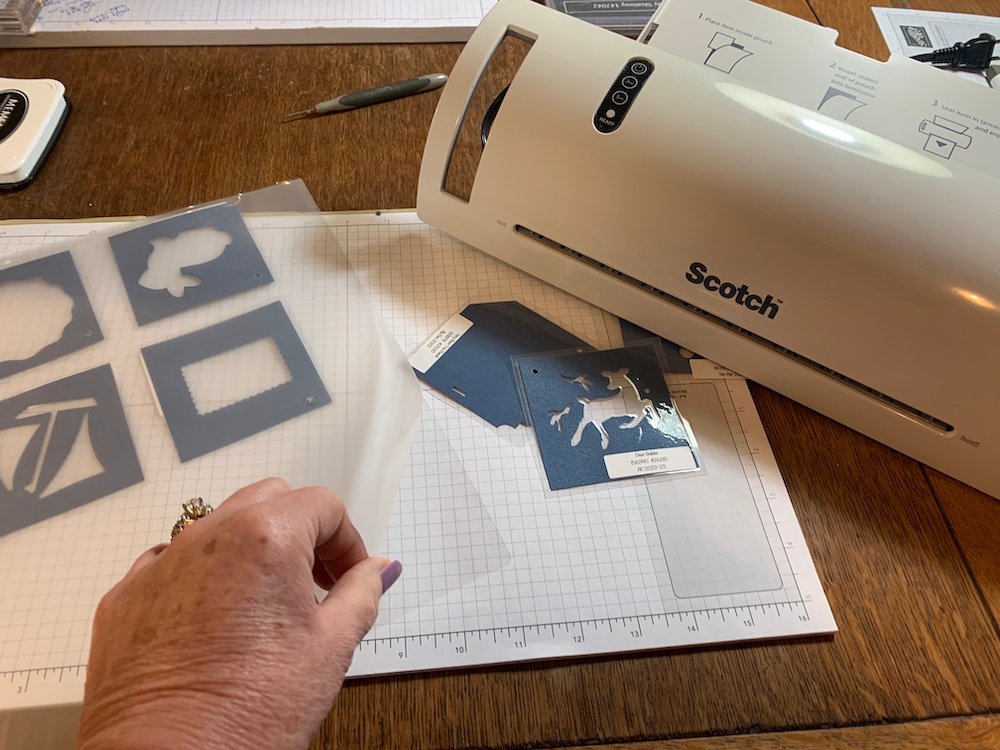
I cut a 3″ square of card stock (I use a darker one, usually retired), and punch out the punch in the centre of the square.


Once I have several punched out, I place them in a laminating envelope and run them through my laminating machine. I got this one at Walmart, when the pre-school sale was on in August a few years ago. They’re not overly expensive to start with, but I love a good deal. I can get 6 comfortably in a laminating envelope. Make sure you leave at least 1/2″ between each so you can trim them easily.

I punch a hole in the top left corner of each finished punch sample and keep them on a metal shower curtain loop (because that’s what I had handy lol). I label each one with the Name, Part number and which catalogue it’s from. I did have the prices on them but realized some were US$ and some Cdn$. I will revamp when I can include the correct Canadian Prices. This list goes back about 5 years, when I started as a demonstrator.

I hope you found this tip helpful. Feel free to download the PDF of the labels. As with the embossing folders, I used the Avery 5167 Return Address labels. If I’ve missed any punches, please let me know and I’ll update the list.

What a great idea! Something I will do. Thanks for sharing.