This card is so quick and easy to put together. This is all you need:
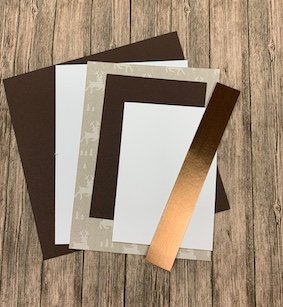
- Card Stock (your choice) – 5-1/2 x 5-1/2, score at 4-1/4, and 3 x 4-12 (matte)
- Designer series paper (I used the Peaceful Prints (Sale-a-bration) – 4 x 5-1/2
- Glitter DSP or Metallic (I used the Brushed Metallic from the Mini July-December Catalogue) – 1 x 5-1/2
- Basic White – 2-3/4 x 4 (front) and 4 x 5-1/4 (inside)

- Glue the decorative strip about 1/2″ in, under the folded flap of the card stock.
- Lining up the DSP with the edge of the card base, adhere the DSP to the underside of the decorative strip, as per the picture. ** Make sure the right edge of the DSP aligns with the right edge of the card base.

On a scrap of Basic white, stamp your deer from the Peaceful Deer stamp set, and colour with your favourite colouring method. I used Stampin’ Blends in Crumb Cake, light and dark. Then, punch out with the Deer Builder Punch, or fussy cut using your paper snips.
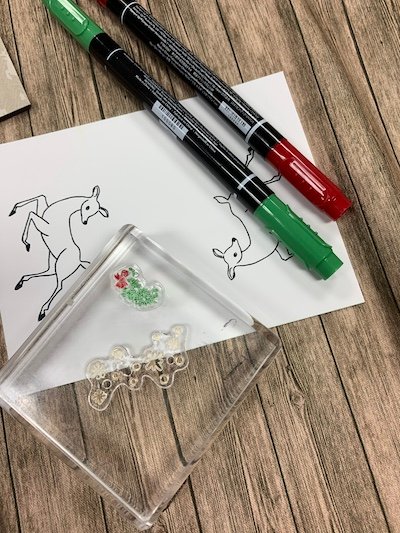
I also used the Stampin’ Write markers in Garden Green and Real Red to colour right onto the stamp for the deer’s wreath, then fussy cut with my paper snips. The Stampin’ Write markers have two ends – one is like a bullet type end, for finer detail, and the other is more like a brush. Use the brush side to colour right onto the detail for each colour, then stamp directly onto the Basic White to get a multi-coloured stamp.

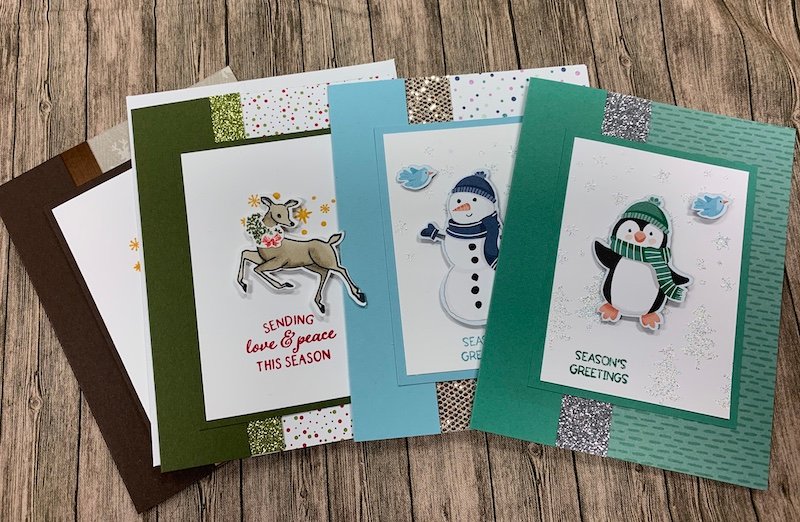
Stamp your sentiment in Real Red on the bottom of the Basic White panel, and the stars (I couldn’t decide if they were stars or snowflakes) in Bumble Bee near the top. I glued the wreath to the deer with Multi-purpose liquid glue (you could use Mini Glue dots), then put Stampin’ Dimensionals on the reindeer, and centred him (her) on the card. Stamp your inner sentiment on to the 4 x 5-1/4″ piece of Basic white and adhere inside your card.

Your cards are beautiful. Love the sparkle paper and the vellum together
Thanks Pat!!