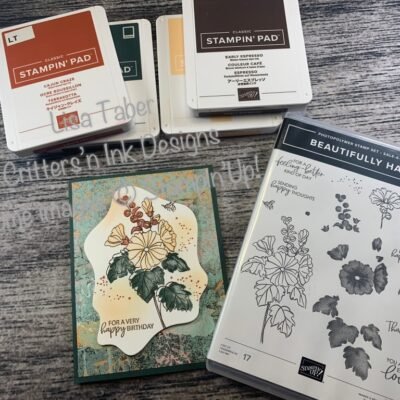
Don’t you love this floral stamp? I needed some cards for my upcoming birthdays, and I absolutely love this set….
Read More
Don’t you love this floral stamp? I needed some cards for my upcoming birthdays, and I absolutely love this set….
Read More
First of all – Happy New Year. AND – many, many thanks to all of you who have helped me…
Read More
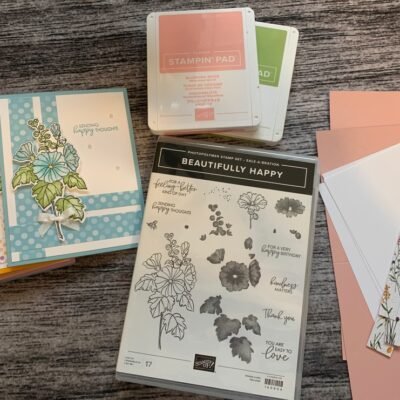
This beautiful stamp set is FREE with a qualifying purchase in January. I love the 2-step stamping on this card….
Read More

This is a great time for you to take advantage of the Last Chance Sale. You only have a 24-hour…
Read More
I had a lot of fun making these Slimline cards, using the Fitting Florets Suite. I invite you to watch…
Read More
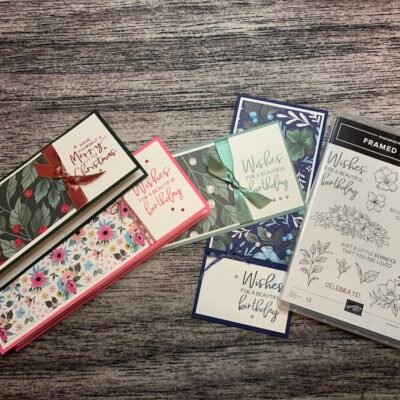
Create more by spending less during the Seasonal Sale! Between 15 and 18 November 2022, select products from the 2022–2023…
Read More
